
Installing ComfyUI in AWS to generate images using Flux
Generative AI requires a lot of resources and powerful equipment, you need to buy Nvidia cards to being able to successfully run stable diffusion or any other model. If you are like me you might look for affordable solutions such as AWS. In this tutorial I’m going to show you how to install Flux to generate awesome images in Ubuntu.
Setting up the instance
First thing you need to do is to login into Amazon AWS console, in the top search input, type EC2 and select the first option in the results, you will see something like this:
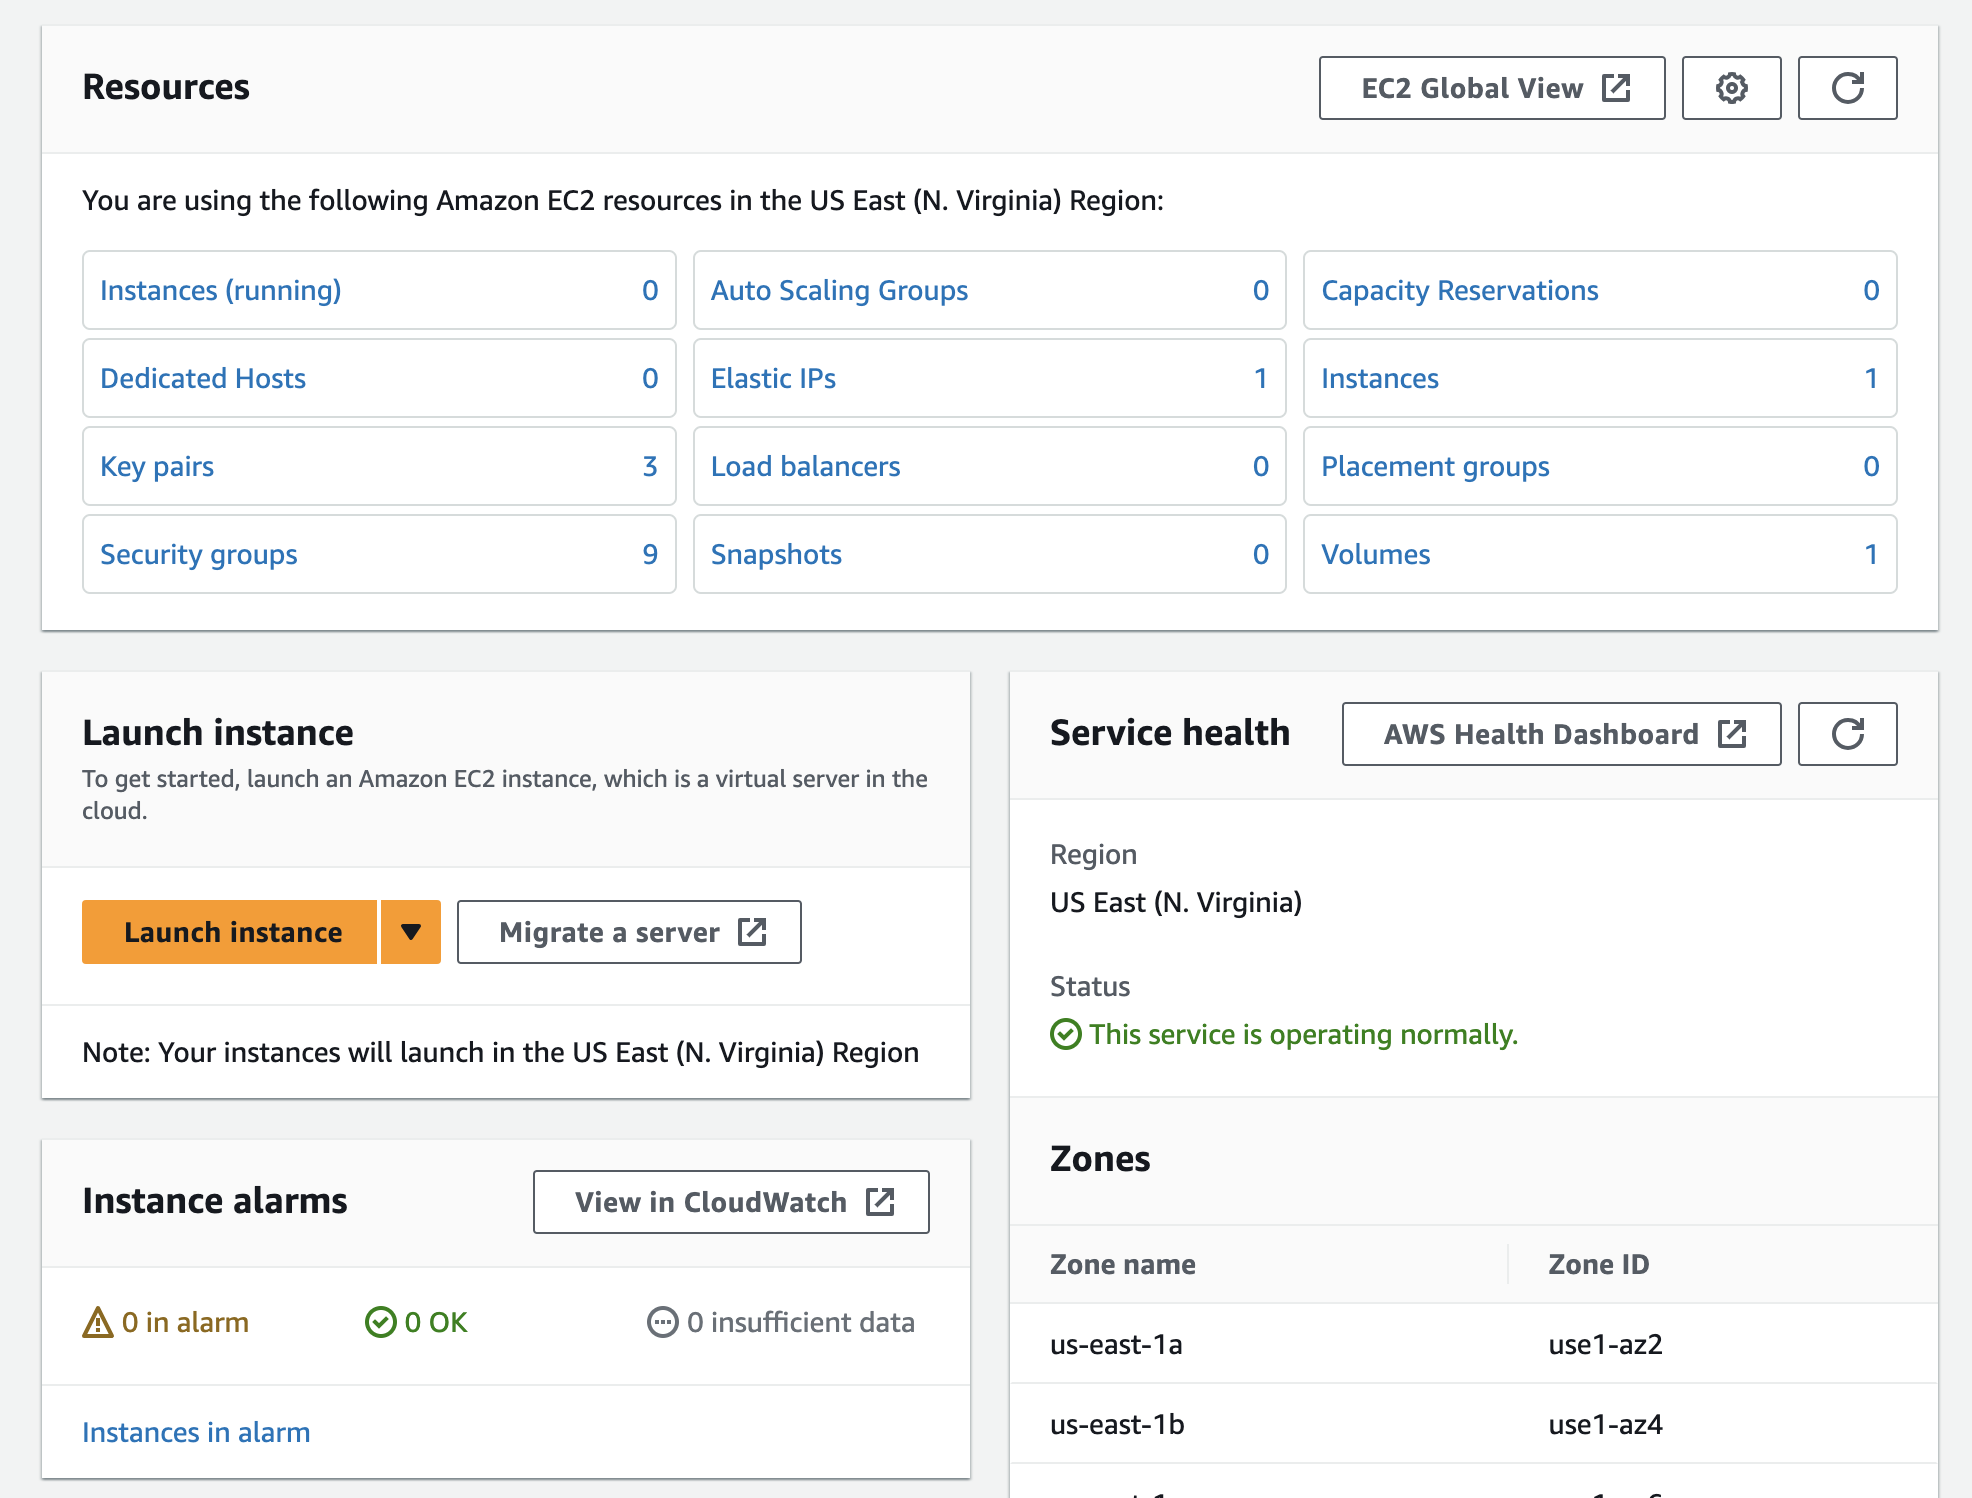
Next you need to click on the Launch instance yellowish button to configure the hardware we need to run Flux and generate images.
Fill out the form with the following values:
- Name: Generative AI Experiments
- Amazon Machine Image (AMI): Ubuntu Server 24.04 LTS
- Instance type: g4dn.2xlarge
- Security Key: Select an existing key or create a new one, make sure to save the new key in a secure place as we are going to use it later to connect to the instance.
- Network Settings: Select
Allow SSH traffic fromand from the dropdown selectMy IP. - Configure Storage: Set the value to 100GiB
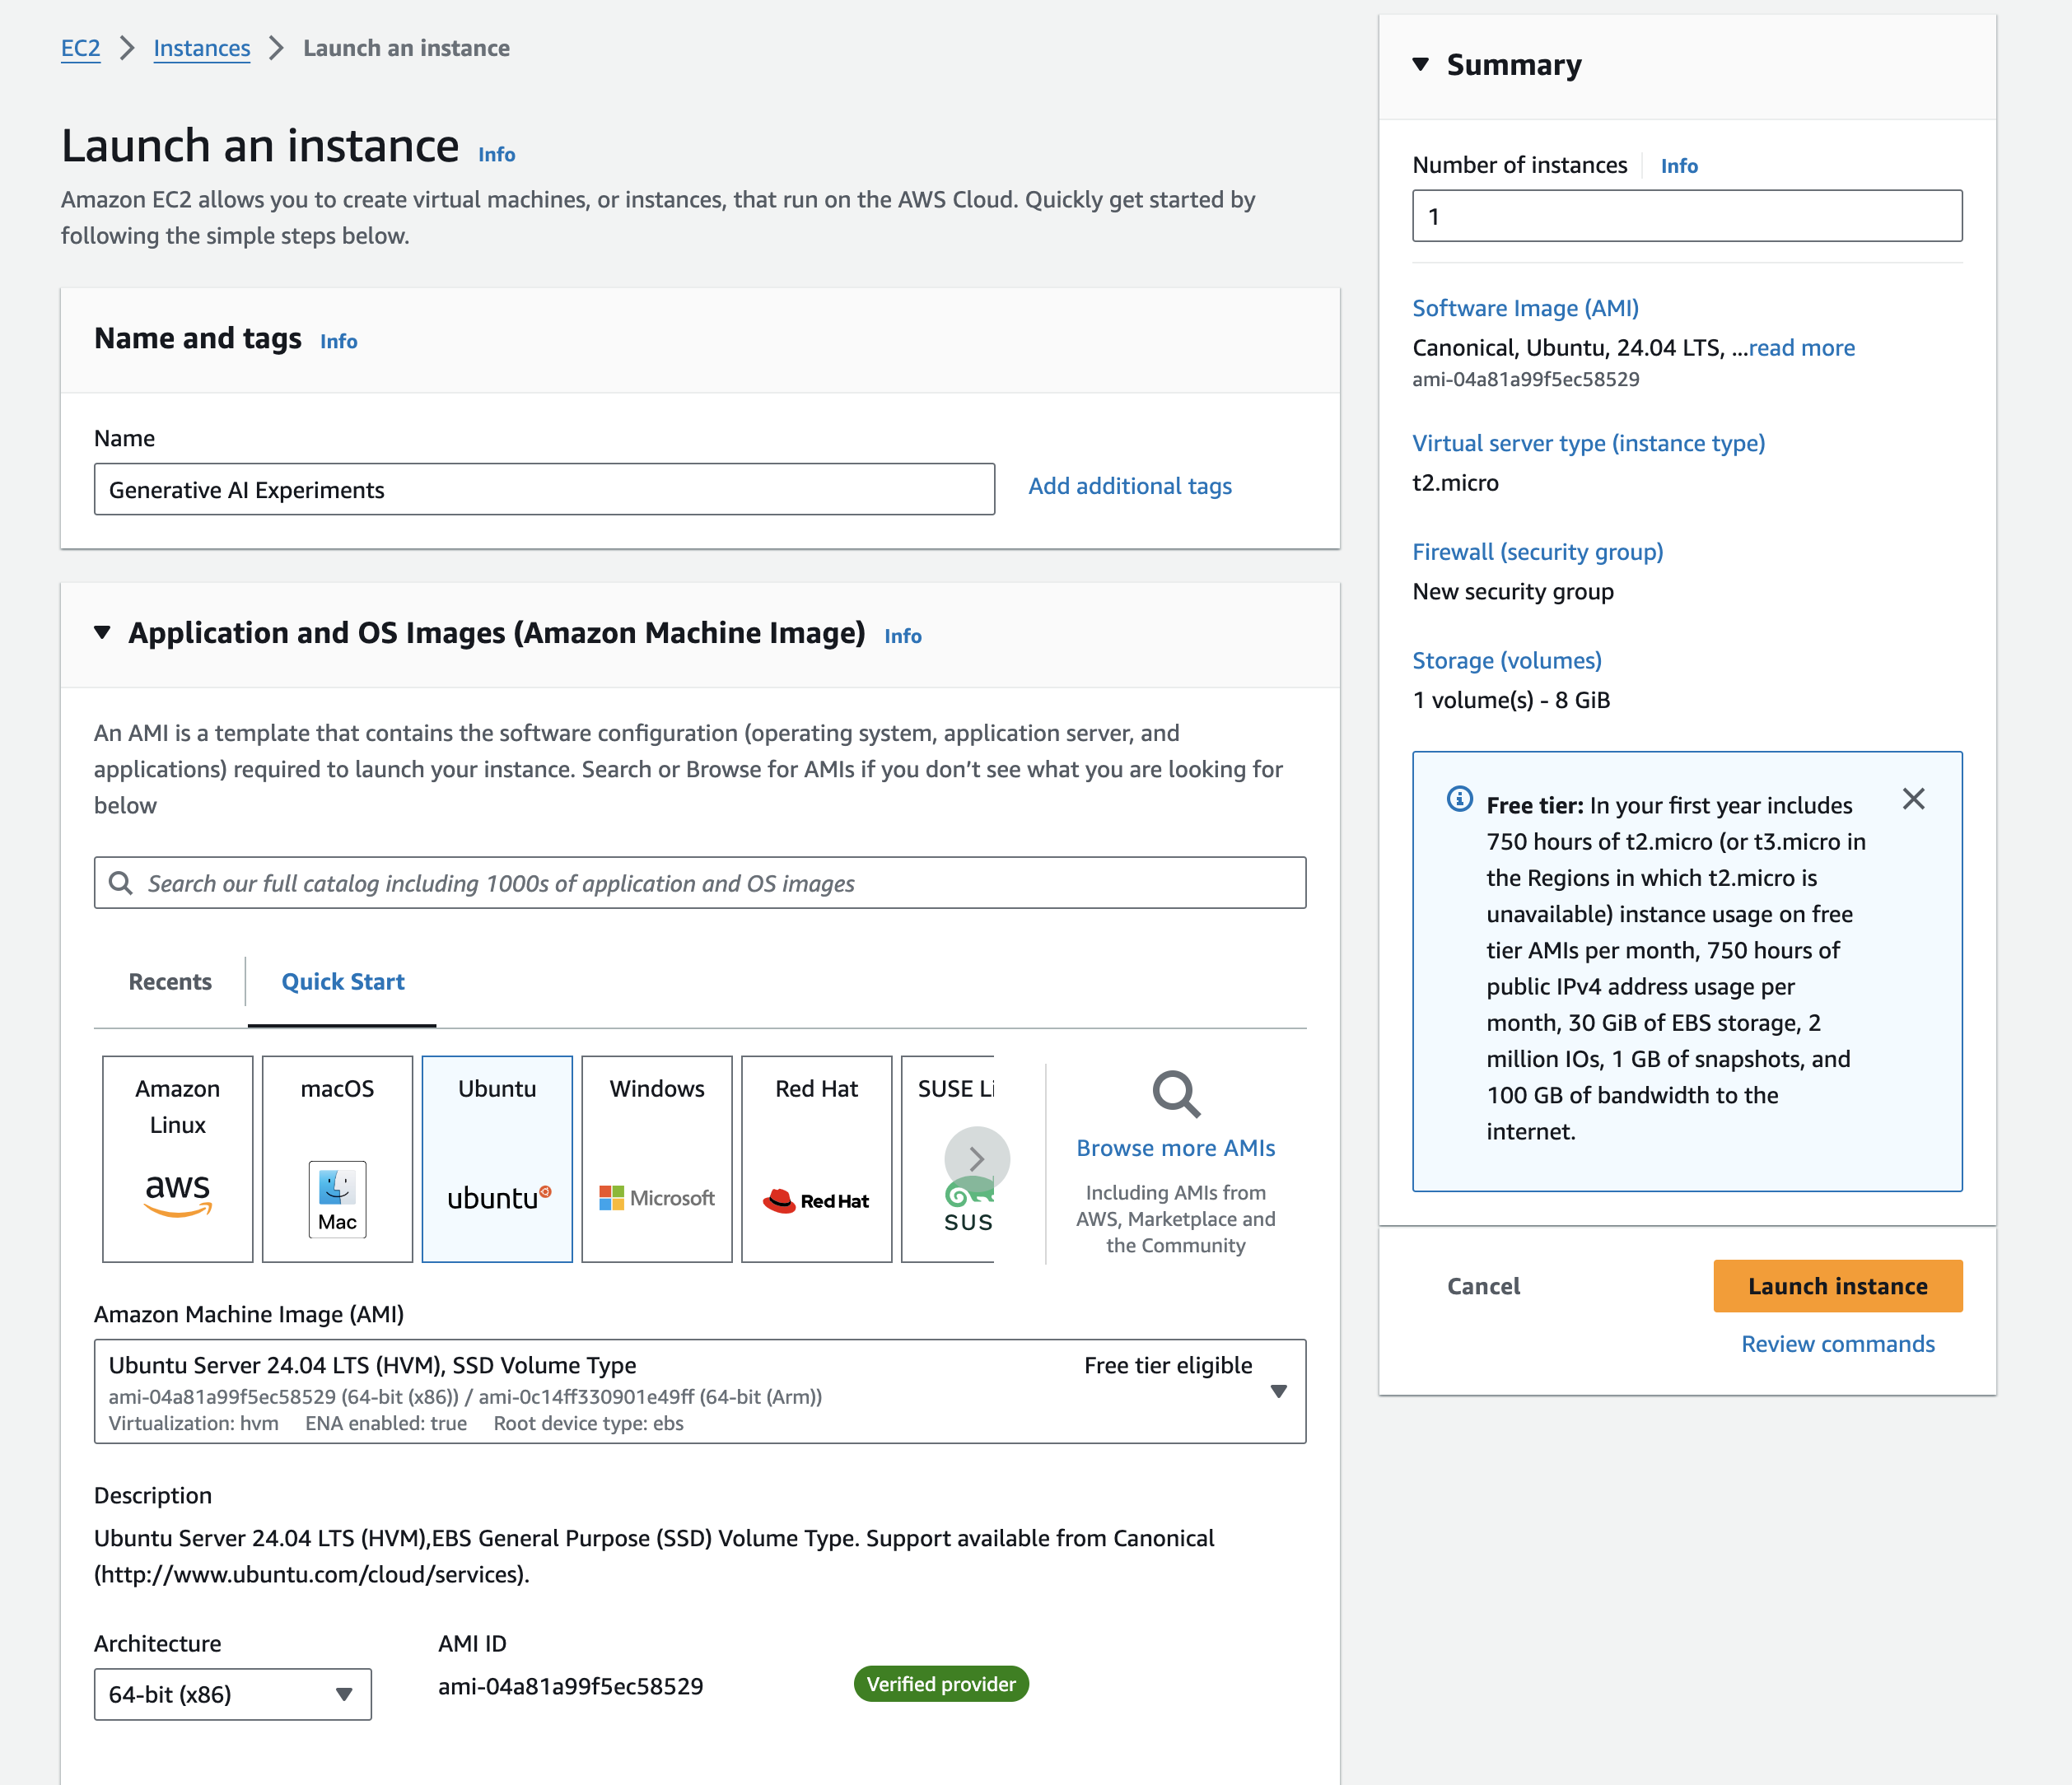
All other values can be set with the defaults, once you finish click the yellowish Launch instance button on the right side.
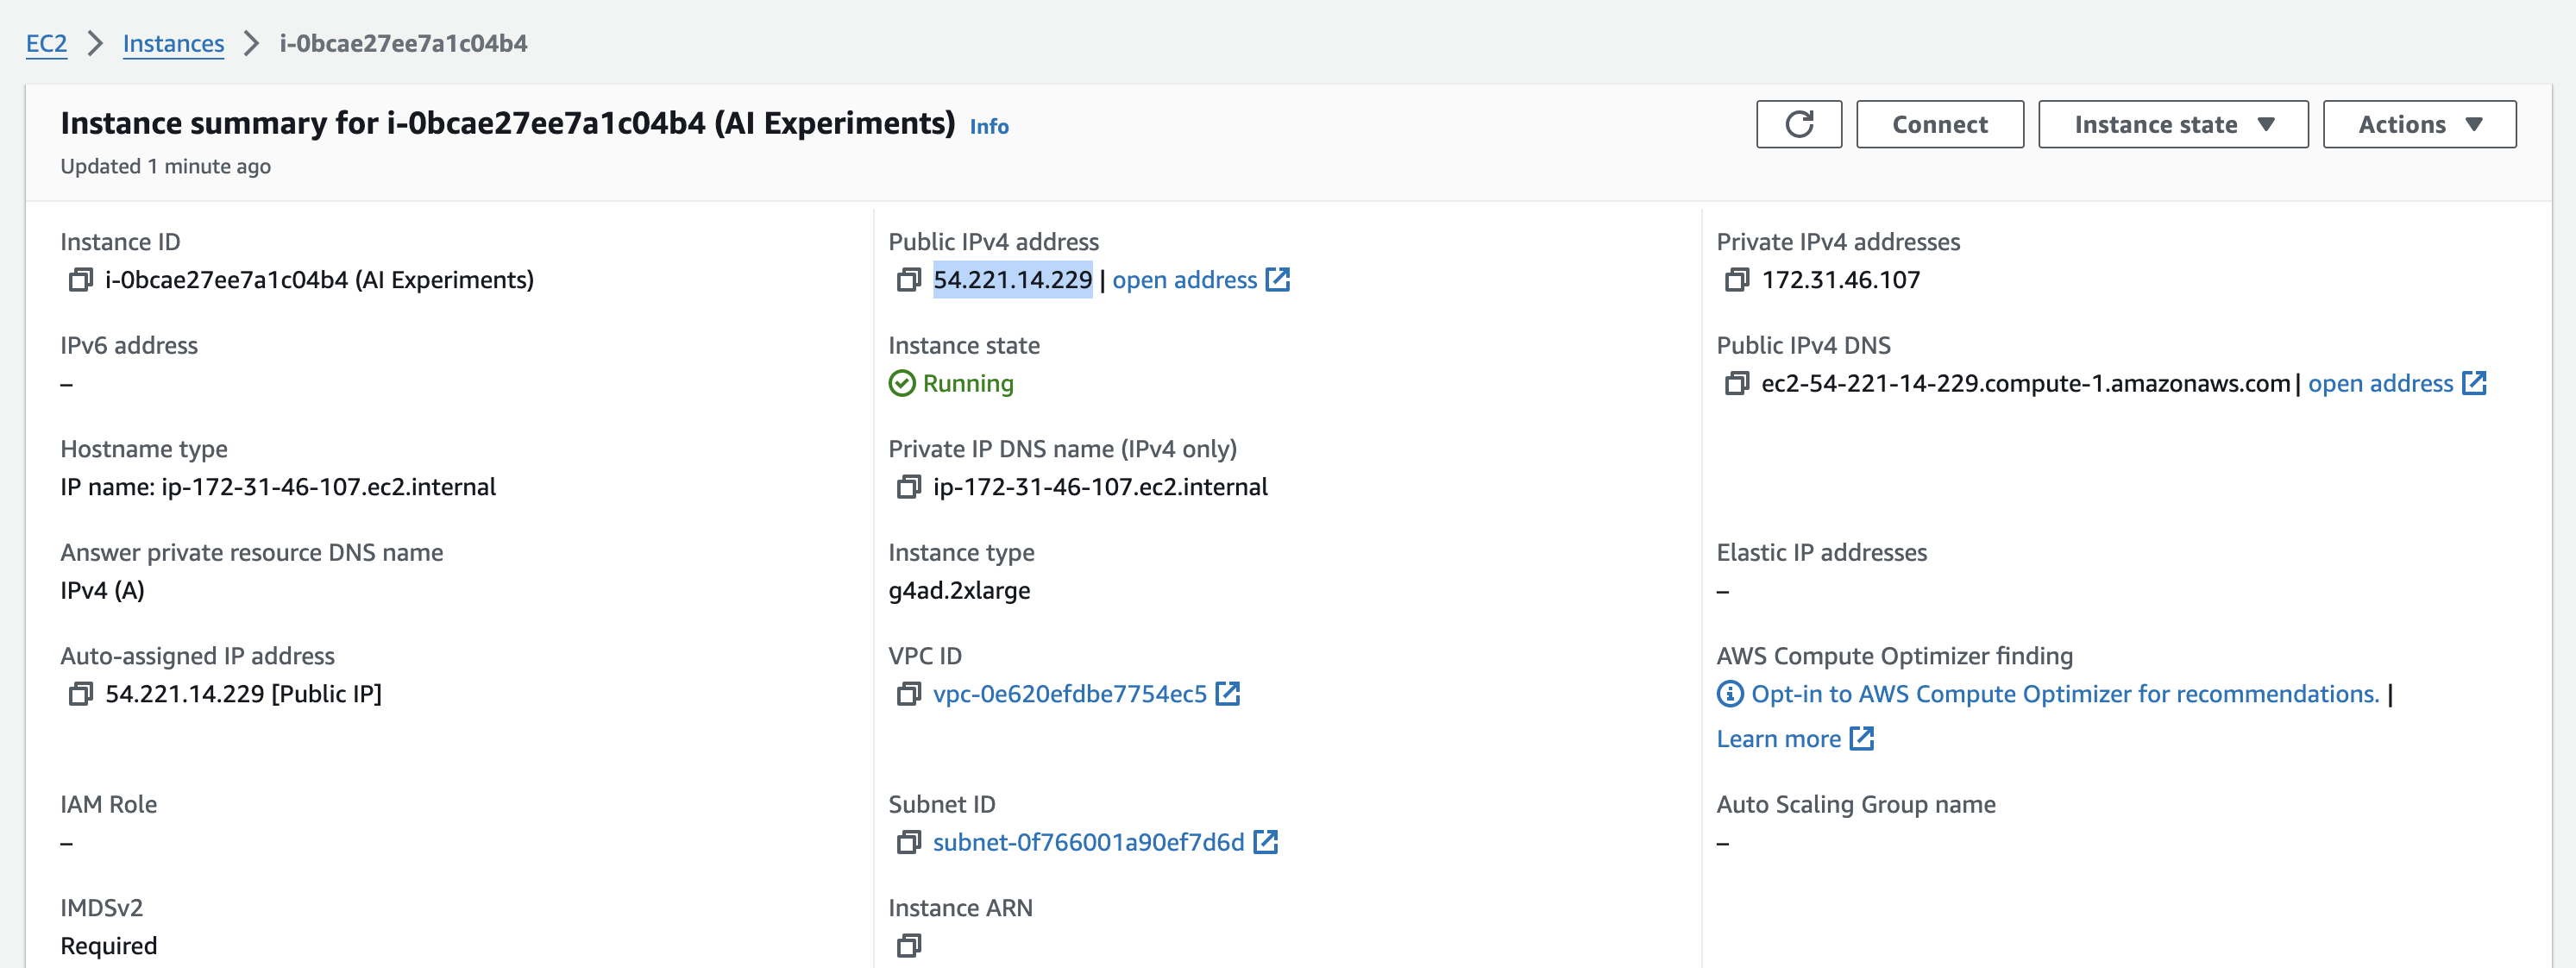
After you get a successful message, go back to the list of instances, click on the new instance and you will see the Public IP in the middle column. Copy this IP as we are going to use it for to connect via SSH.
Setting up dependencies
Open your favorite terminal or an SSH client and connect to the instance we just created. We can do that by running the following command.
$ ssh -i ~/.ssh/[YOUR-KEY-FILE-NAME].cer ubuntu@[YOUR-API_ADDRESS]
Make sure to set the right certificate, otherwise it’s not going to authenticate correctly. After login we should update our system by running the following commands:
$ sudo apt update
$ sudo apt upgrade
Next we need to install the NVidia driver to being able to use the GPUs! I’ve tried other AMIs that included the drivers and everything installed but had several errors while installing the models, I’ve learned that it’s just easier to manually install the drivers and everything we need, it take a little longer but less errors. Just run the following command:
$ sudo apt install nvidia-driver-535
Next we need python, first we need to add the repository where the official distribution is located, then install the package using apt:
$ sudo add-apt-repository ppa:deadsnakes/ppa
$ sudo apt install python3.10
It’s important to set the default python when running python3 commands in the termina, so let’s create the alias next:
$ sudo update-alternatives --install /usr/bin/python3 python3 /usr/bin/python3.10 2
In order to check if everything is installed, we can print the python version:
$ python3 --version
AUTOMATIC1111 requires to run virtual environments, therefore we need to install python3.10-venv using apt:
$ sudo apt install python3.10-venv
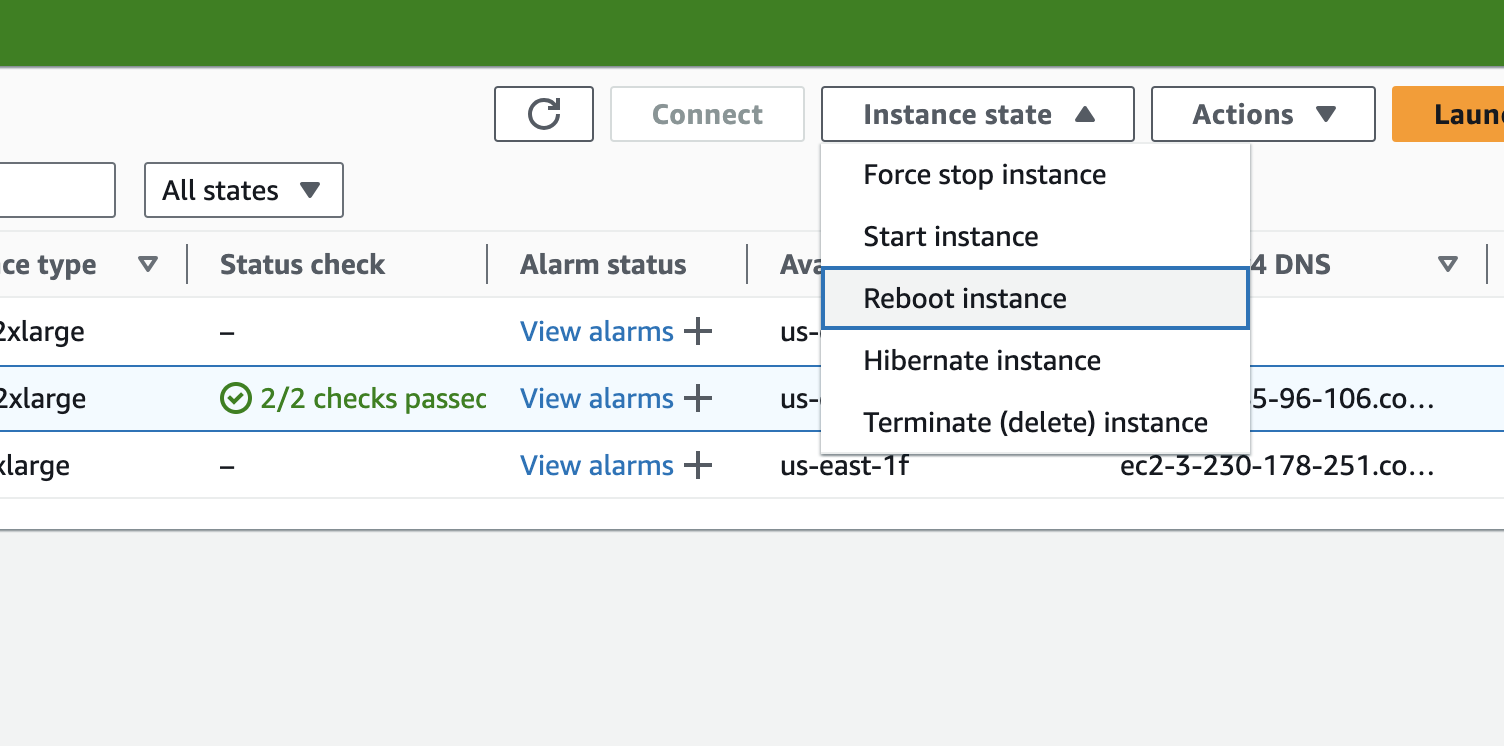
We are done! All we need to do is reboot the instance and we should be able to use the NVidia GPUs to run the models. Go back to the AWS console, select the instance and click the Reboot instance option from the Instance state dropdown menu at the top.
Install AUTOMATIC1111
Login again to your instance and clone the stable difussion web ui repo.
$ git clone https://github.com/AUTOMATIC1111/stable-diffusion-webui
Get into the cloned project and edit webui-user.sh to enable connecting to A1111 from any computer, use the faster flash attention when using models and allowing you to install extensions when connecting remotely.
$ cd stable-diffusion-webui
$ vim nano webui-user.sh
In this file we need to find the line where COMMANDLINE_ARGS is defined, uncommen the line and set the following value.
export COMMANDLINE_ARGS="--listen --opt-sdp-attention --enable-insecure-extension-access"
The last step is to install and run A1111, we do that by running the following command:
$ ./webui.sh
That’s going to start the webserver running on http://0.0.0.0:7860 , now we need to open that port in our instance to being able to open that in our browser.
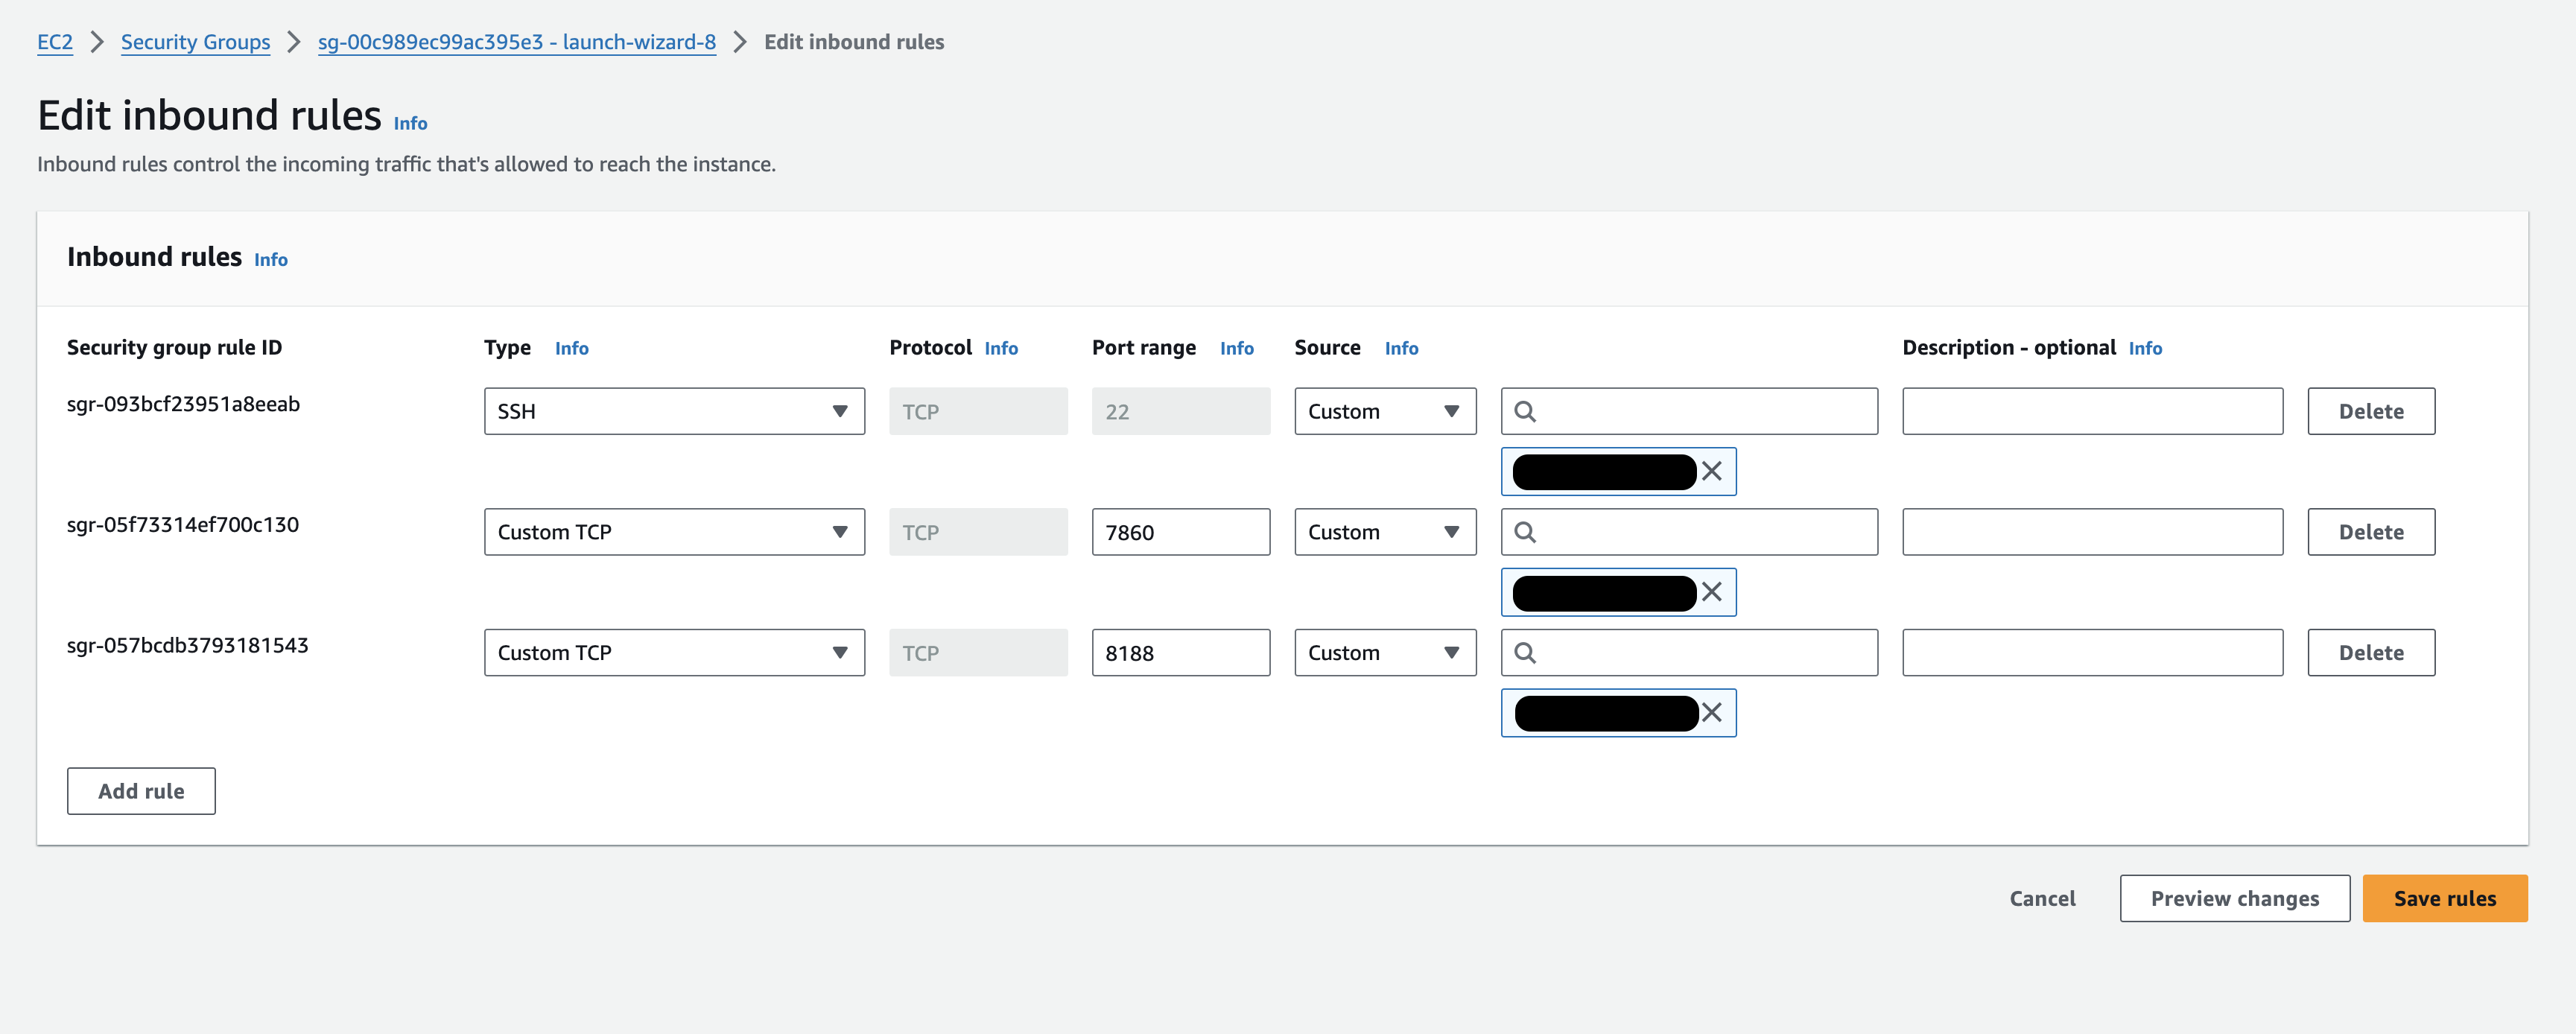
Go to AWS console and click on the instance then in the Security tab, then click the security group link and Edit inbound rules button on the right.
Click Add rule and add a Custom TCP port 7860 , allow connection source from My IP. This will prevent other people from using your models. If your IP changes, you will need to come here and again and set your new IP.
After saving you should be able to open A1111 in your favorite browser. Just type the IP of your instance followed by the port, for example: http://3.230.178.251:7860/ .
If everything went well, you should be able to see the A1111 console. Go ahead and give a try! You should see something like this:

As you can see, the generated images doesn’t look great. We need to install Flux! But before that, we are going to install ConfyUI a tool with a better UI that creates flows to generate images.
Install ComfyUI
Go back to the home folder and clone the ComfyUI project from github.
$ cd ~
$ git clone https://github.com/comfyanonymous/ComfyUI
Now we are going to share models with A1111 by duplicated the extra_model_paths.yaml file and setting the path to the models in A1111.
$ cd ComfyUI
$ cp extra_model_paths.yaml.example extra_model_paths.yaml
$ vim extra_model_paths.yaml
Inside this file we need to locate the line where the base_path is defined and set the right value:
base_path: /home/ubuntu/stable-diffusion-webui
Finally run ComfyUI with this command:
$ ~/stable-diffusion-webui/venv/bin/python main.py --listen
This will run the server on the port 8188, we need to open this port in our instance so we can open ConfyUI in our favorite browser. Follow the same steps we did to open the port on AWS, but now use the port 8188.
Go ahead and open the ComfyUI in your browser by typing your IP and the port, something like this http://3.230.178.251:7860/ . Click on the Queue Prompt button to generate your first image.

Installing Flux-Dev
Finally we get to install the Flux model! This model will allow us to generate awesome images, it was released last week so it’s pretty new.
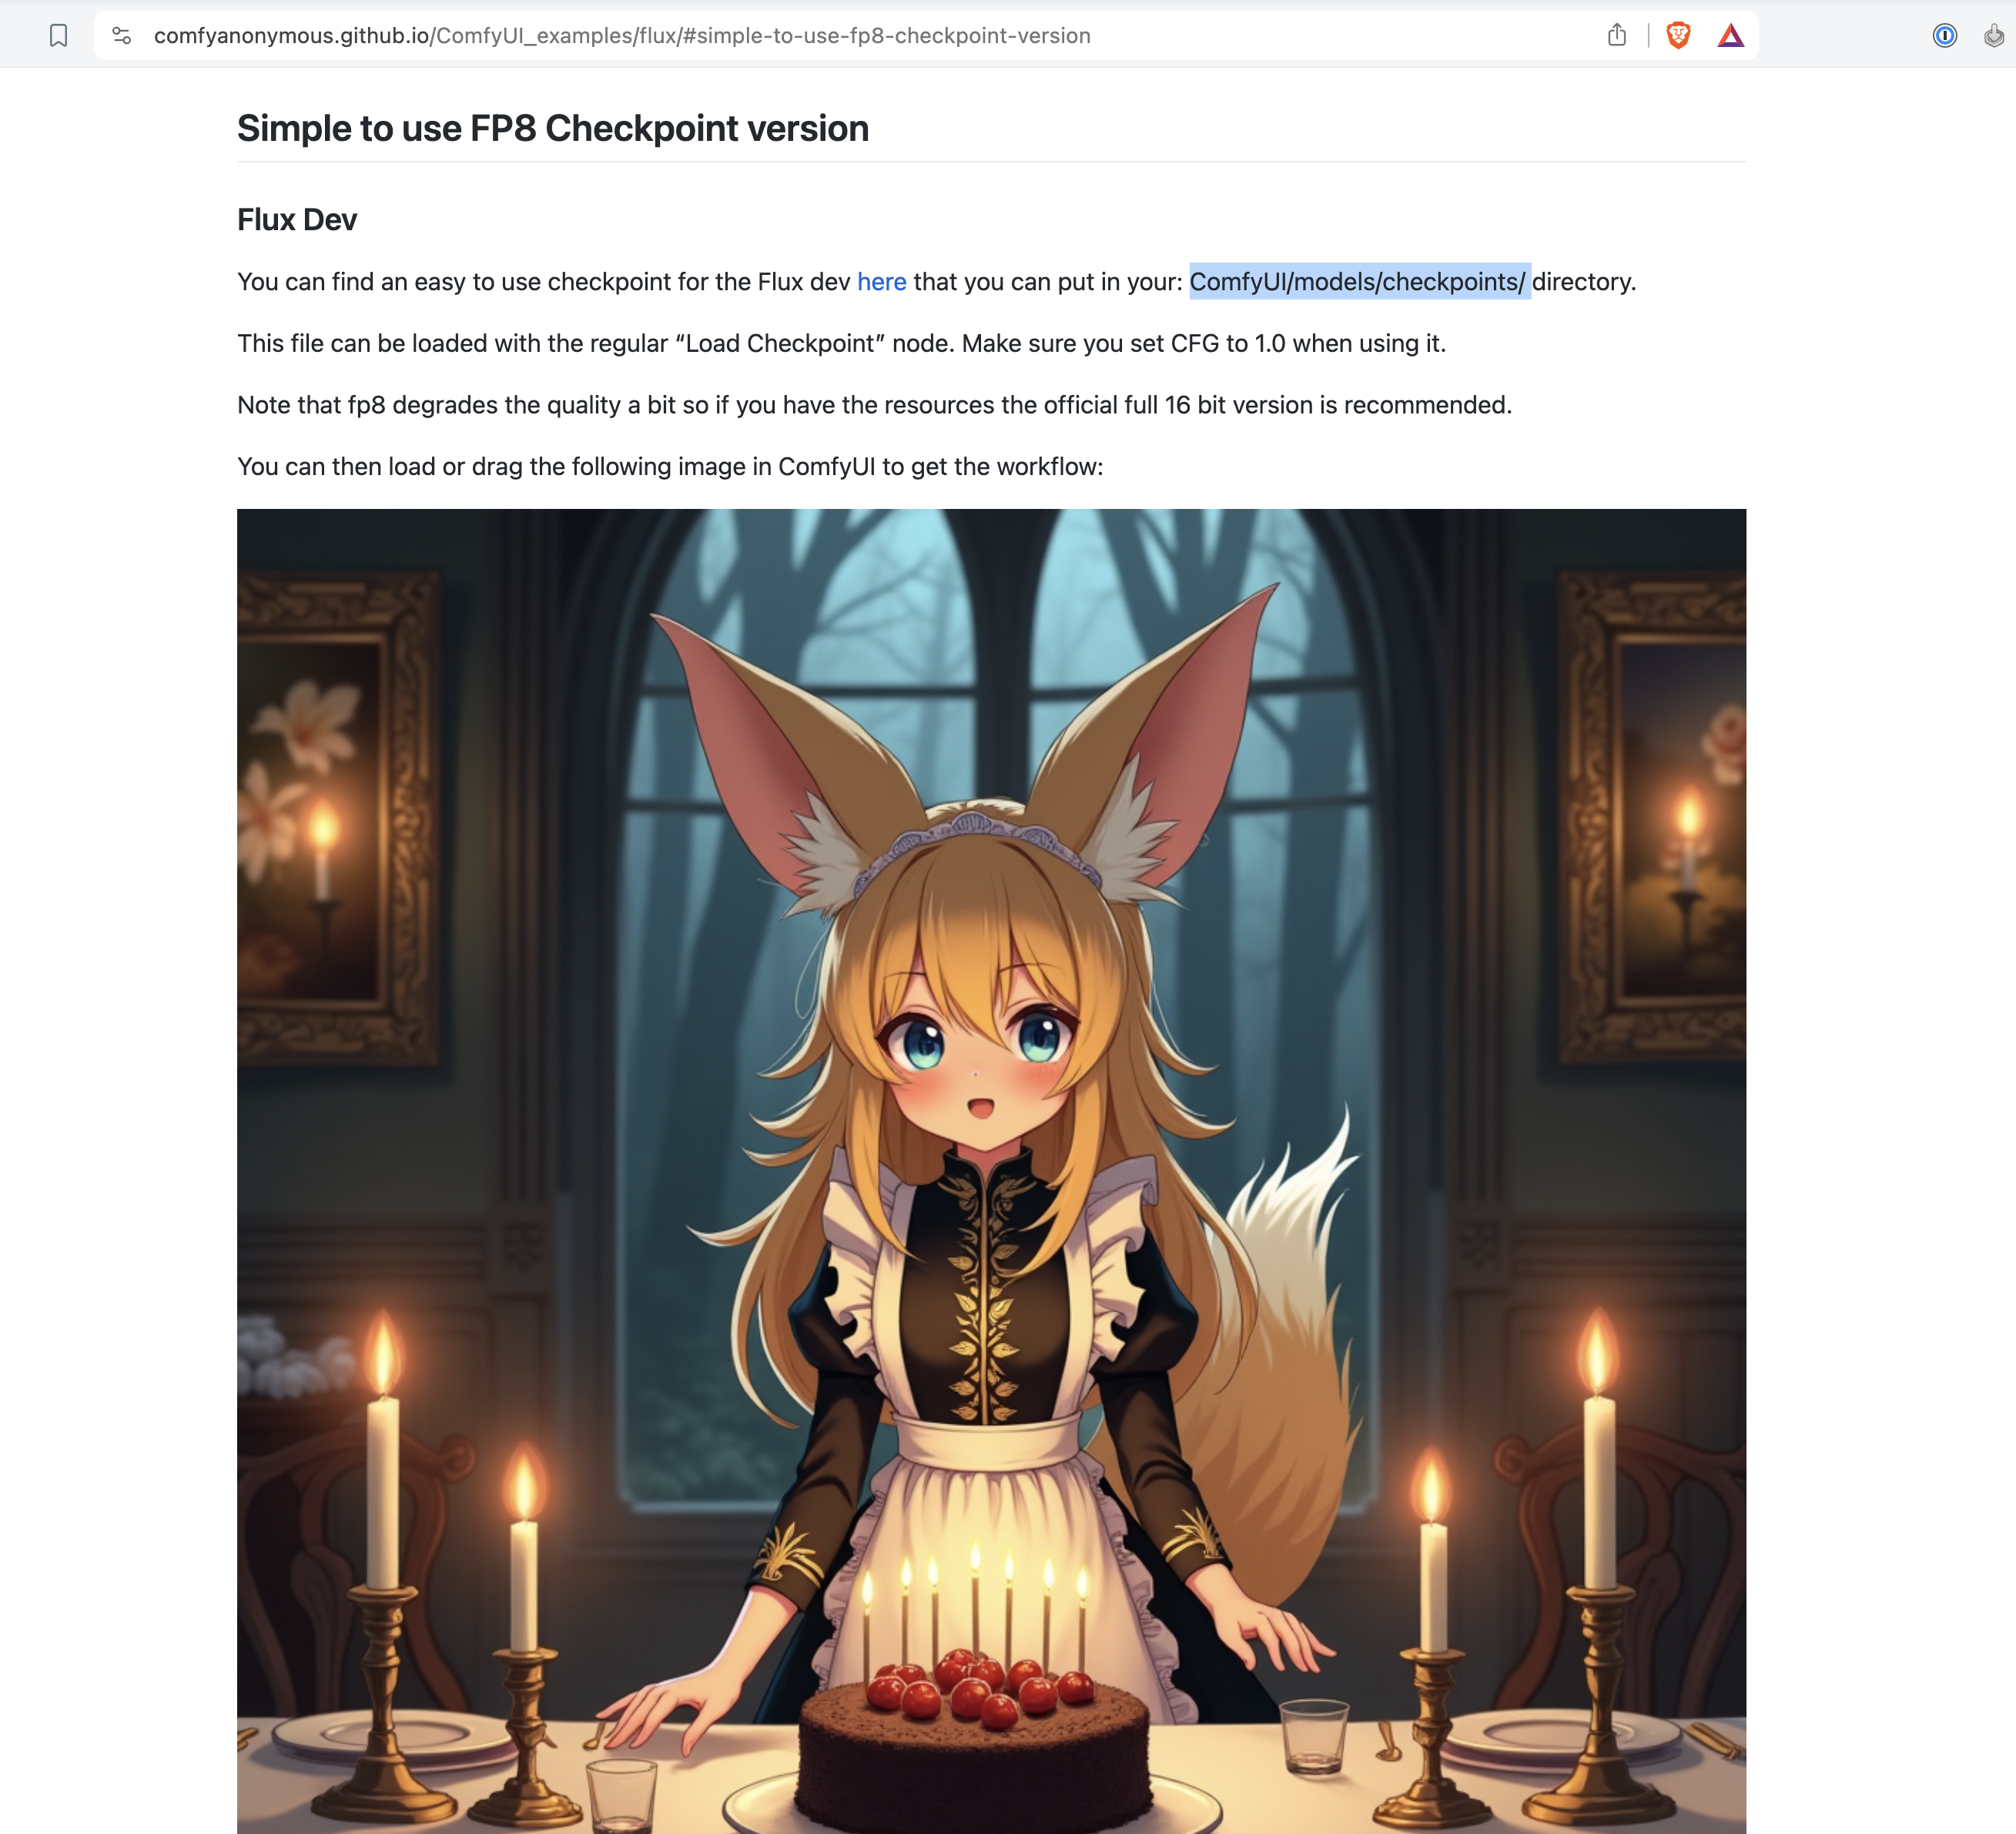
There are several version of the model depending on the hardware that you have, I’d recommend you to install the Flux-Dev-FP8. This is the easiest model to install and it doesn’t require a lot of memory or gpu, it generates images faster, something around 10-20 seconds in the instance that we have.
There’s only one single step to install this model, first you need to go to ~/ComfyUI/models/checkpoints/ and download the model like this:
$ cd ~/ComfyUI/models/checkpoints/
$ wget https://huggingface.co/Comfy-Org/flux1-dev/resolve/main/flux1-dev-fp8.safetensors
Now we need to create a flow, the anime image in this page comes with the flow, all you need to do is download the file and then drop it into ComfyUI. Magically you will see the flow ready to be used.
Make sure to clear the current flow so you start with a blank canvas, then drop the image in there and see the magic happen.
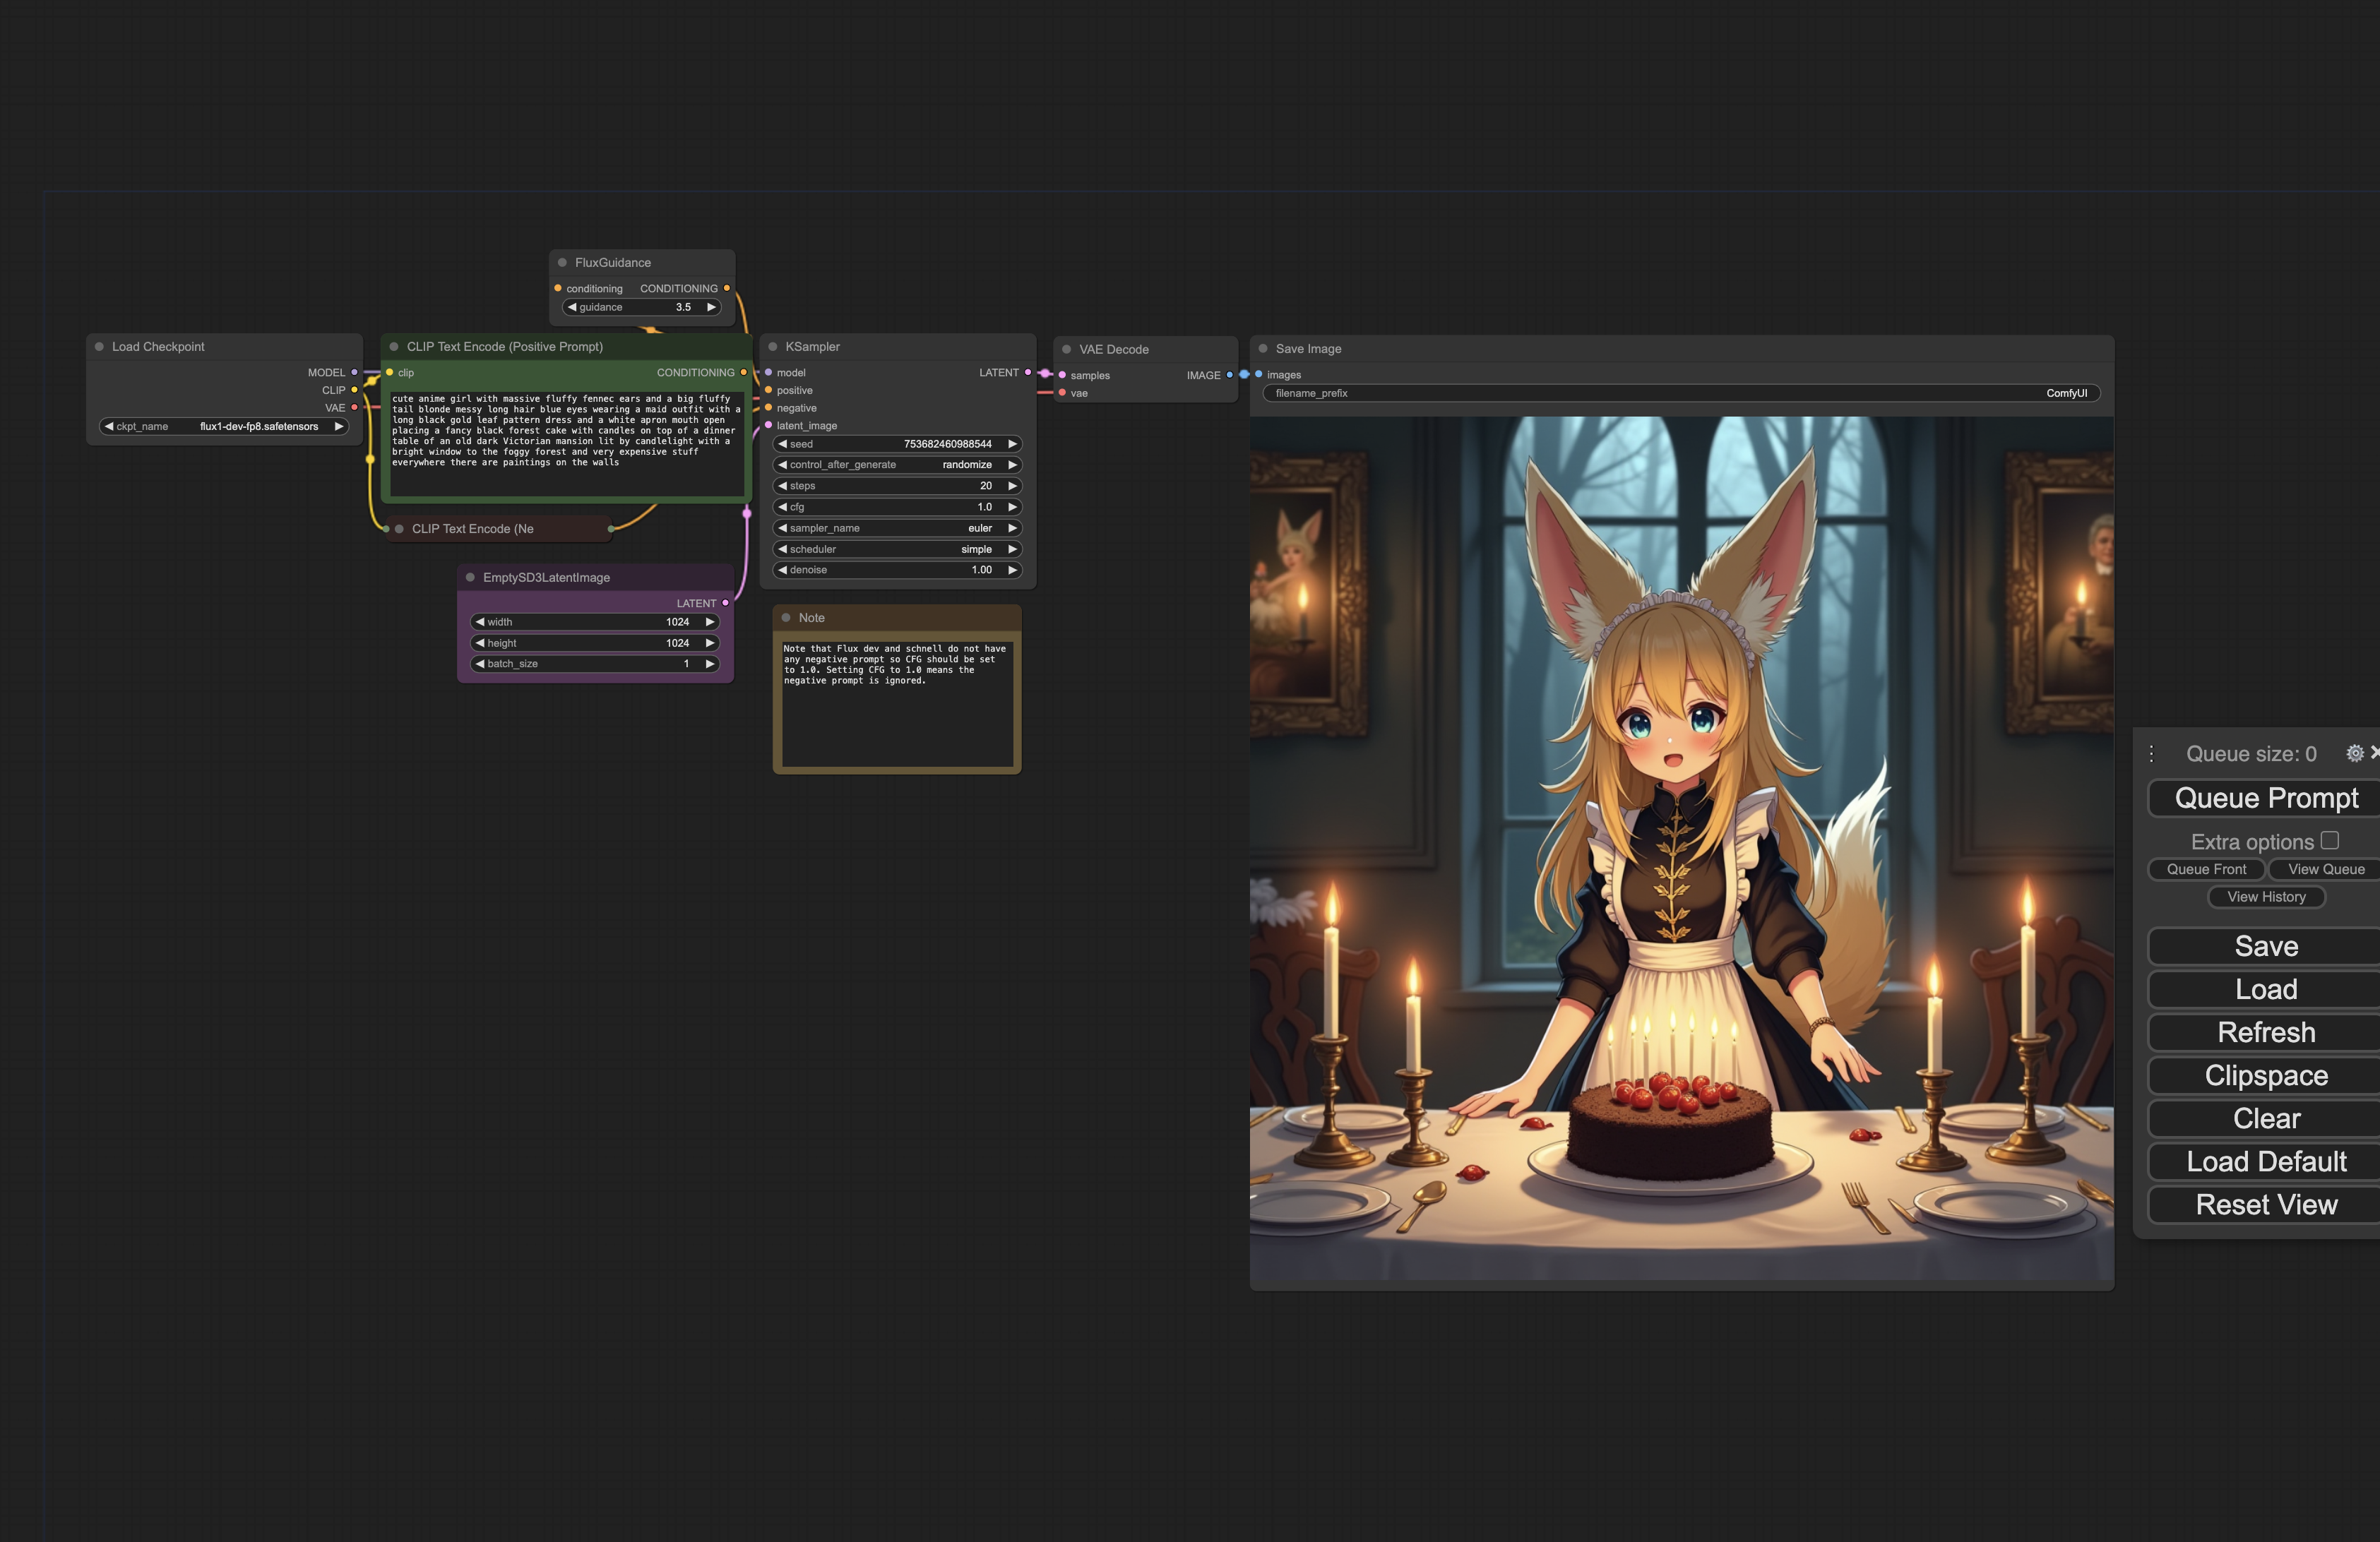
And that’s it folks! We can now generate all the images we need using Flux, your imagination is the limit now!
Happy coding!
Did you like this post?
If you enjoyed this post or learned something new, make sure to subscribe to our newsletter! We will let you know when a new post gets published!