
How to enable HTTPS on Webpack Dev Server
One of the most popular feature requests of the Music App is to support memberships using Stripe. A few days ago I decided to work on this new feature, however, I found a few challenges along the way.
First of all, if we want to use Stripe we need to run our application over HTTPS, otherwise the JavaScript SDK doesn't run properly. In production that's quite easy to accomplish, in fact, the demo version, as well as the community I run using this software, are both running over HTTPS.
But when it comes to my development environment, nothing is under a secure connection. I'm using webpack dev server to run the React App. In order to integrate stripe I needed to run my dev environment over a secure connection.
Setting up a local domain
In order to generate a certificate we need a domain, when working on our local we can easily define domains that resolve to our local IP address.
In your terminal, open the file /etc/hosts with your favorite editor, in my case I love using vim.
$ sudo vim /etc/hosts
And add the new domain that resolves to our local IP. You can use any domain you want, I'm going to use dev.local for this example.
127.0.0.1 dev.local
Generating the certificate
In order to enable a secure connection using HTTPS, we need a certificate. Normally you would require a third-party service to sign the certificate, however, given that we are going to be working on our local, we can sign it ourselves.
Open a terminal and run the following command. We are also adding a few subdomains to the certificate: developer.dev.local, www.dev.local andapi.dev.local. Feel free to add more to the list or even remove them all if you want.
openssl req -x509 -newkey rsa:4096 -sha256 -days 3650 -nodes \
  -keyout dev.local.key -out dev.local.crt -extensions san -config \
  <(echo "[req]";
    echo distinguished_name=req;
    echo "[san]";
    echo subjectAltName=DNS:dev.local,DNS:developer.dev.local,DNS:www.dev.local,DNS:api.dev.local,IP:10.0.0.1,IP:127.0.0.1
    ) \
  -subj "/CN=dev.local"
Once we have the certificates ready, we need to trust them. Just double click on the certificate dev.local.crt to install it.
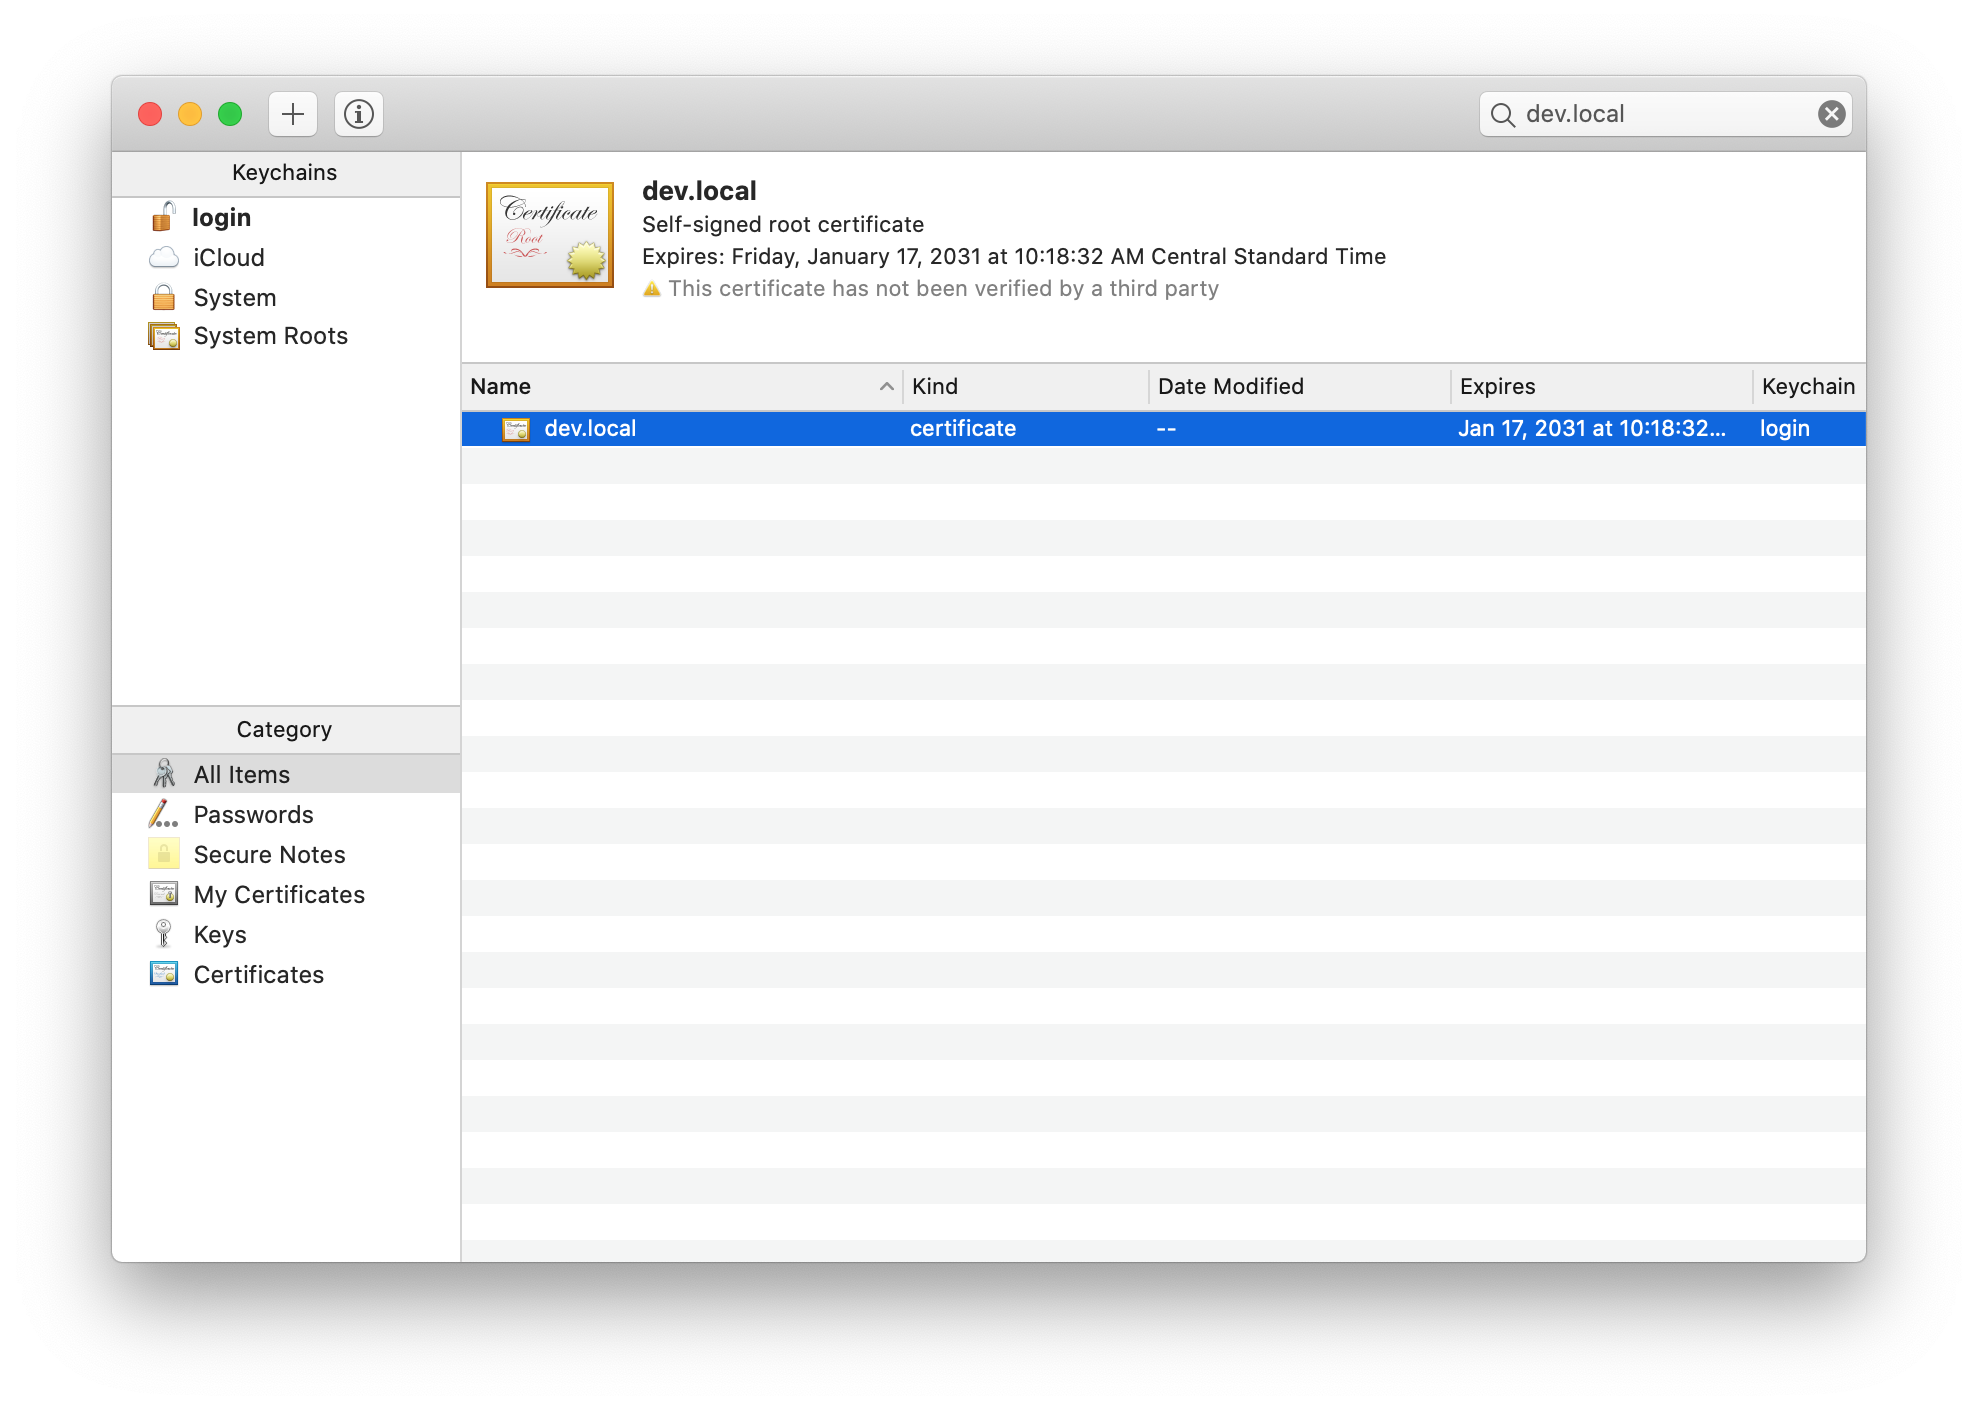
Search for the certificate by name, and then right click to select the Get Info option. This will open the following window.
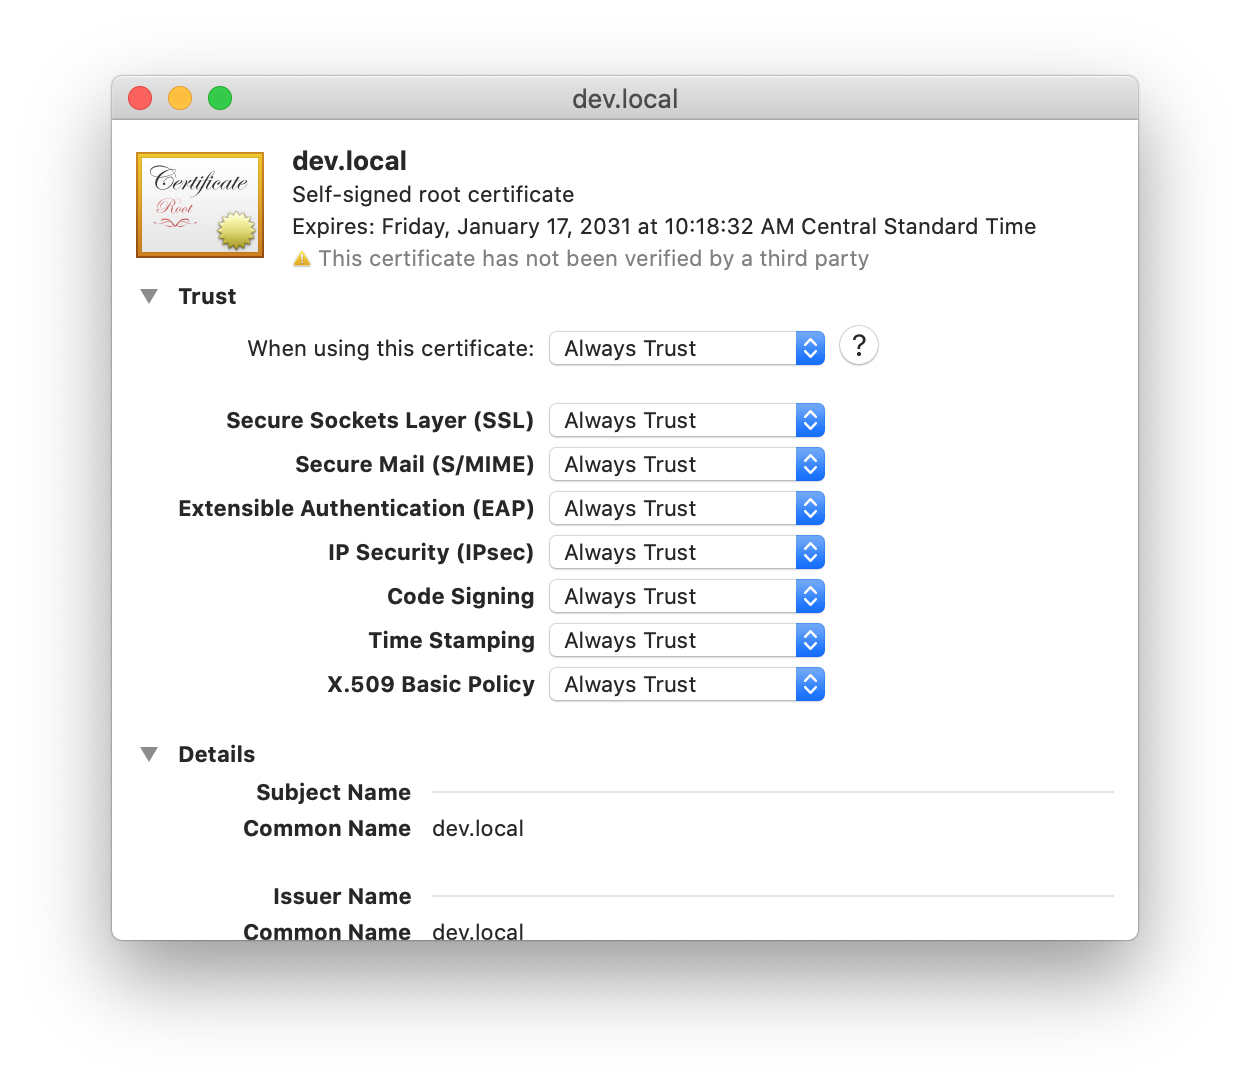
From here you need to select the Always Trust option from the dropdown. It will automatically save after selection, is safe to close this window now.

As you can see, now the certificate is trusted and we are ready to use in our webpack dev server, or any other server really.
Configuring Webpack
The next thing to do is to enable the secure connection in the webpack, for that we need to add the following configurations to the dev server.
var fs = require('fs');

module.exports = {
    devServer: {
        host: 'dev.local',
        port: 8080,
        https: true,
        key: fs.readFileSync("./webpack/cert/dev.local.key"),
        cert: fs.readFileSync("./webpack/cert/dev.local.crt"),
    }

}
Make sure to set the right path to the key and the certificate. I personally like to add these two files to git so my fellow devs won't do it all over again.
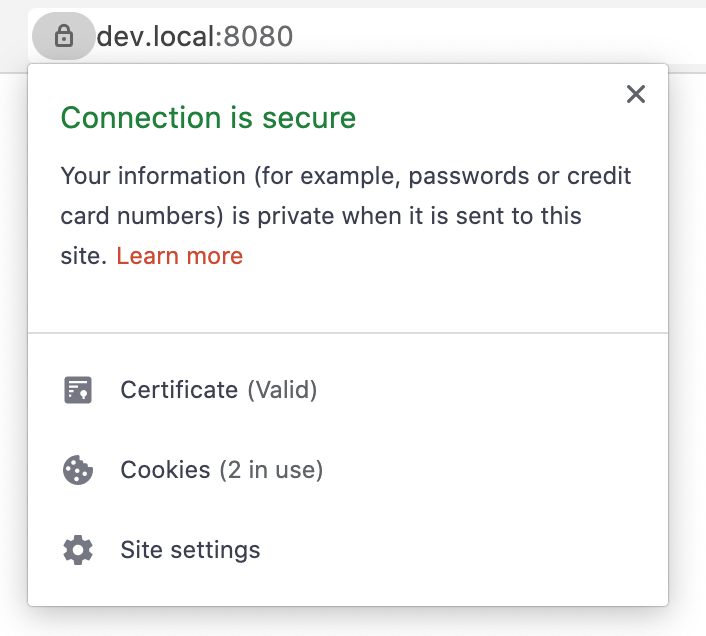
And there you have it! Once this is configured you can start your server as usual, but now remember to use the domain yo access your app, in this case https://dev.local:8080 and you will see how your app runs nice on a secure connection.
Happy Coding!
Did you like this post?
If you enjoyed this post or learned something new, make sure to subscribe to our newsletter! We will let you know when a new post gets published!